How To Vent A Dryer In The Basement

So you’ve got a dryer in the basement, and you want it to vent properly. Good news: this is a project you can absolutely handle. It’s part plumbing, part puzzle, and part “why...
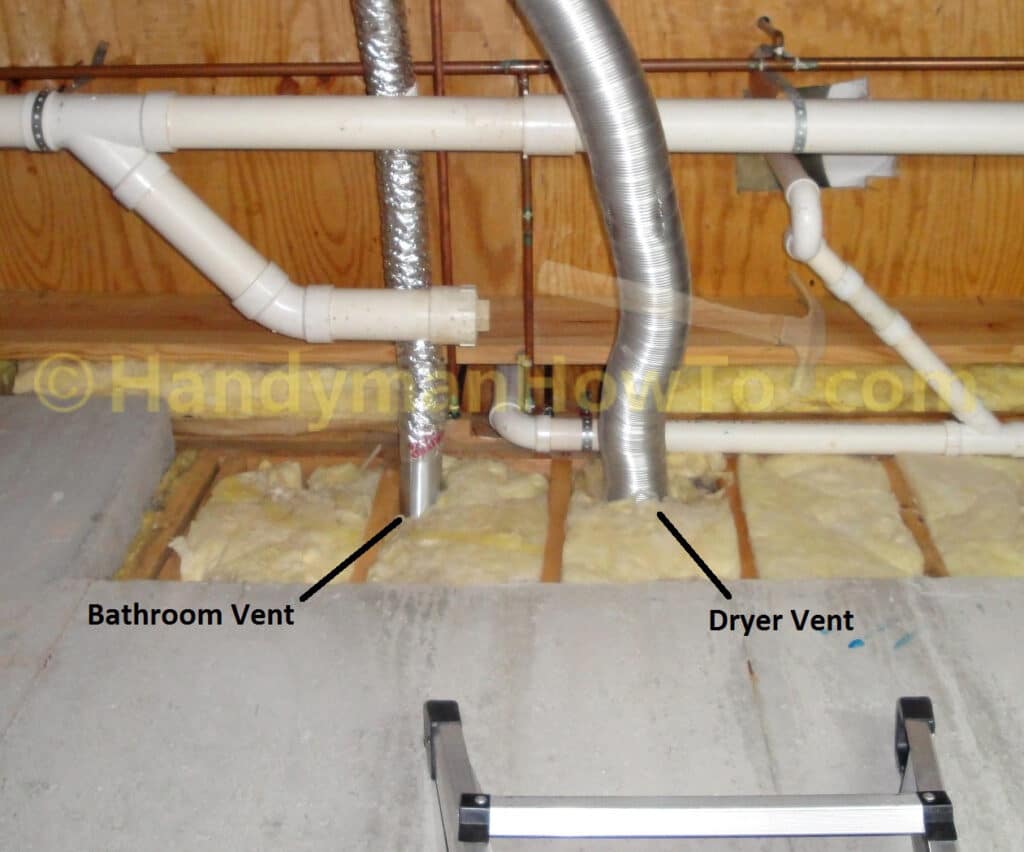
So you’ve got a dryer in the basement, and you want it to vent properly. Good news: this is a project you can absolutely handle. It’s part plumbing, part puzzle, and part “why is there lint in my hair?”
Venting a basement dryer isn’t just about warm socks. It’s about safety, moisture control, and keeping your basement from turning into a tropical rainforest. Let’s walk through it together, step by step.
Why Basement Venting Matters More Than You Think
Every load of laundry sends out hot, damp air mixed with tiny lint particles. If that air dumps into your basement, you get humidity, musty smells, and eventually mold. No thanks.
Must Read
If you have a gas dryer, there’s another serious reason: it releases combustion gases that must go outside. An electric dryer mostly throws moisture and lint, but it still needs a clear path outdoors. Either way, venting outside is the goal.
Gather Your Supplies (and a Snack)
You’ll need rigid metal duct, usually 4 inches in diameter, plus elbows, foil tape, and a vent hood with a backdraft damper. Grab a drill, tin snips, screws, a level, safety glasses, and gloves. A stud finder helps if you’re cutting through wood.
Skip the flimsy vinyl or foil accordion hose. It traps lint, crushes easily, and generally behaves like a bad roommate. Rigid metal duct is the gold standard because it keeps airflow strong.
Also, bring a flashlight and a snack. Basement projects go better with snacks. That’s science, probably.
Plan the Route
Your vent should take the shortest, straightest path possible to the outside. Every elbow adds resistance, and too much resistance means your dryer works harder and longer. Shorter is better. Straighter is happier.
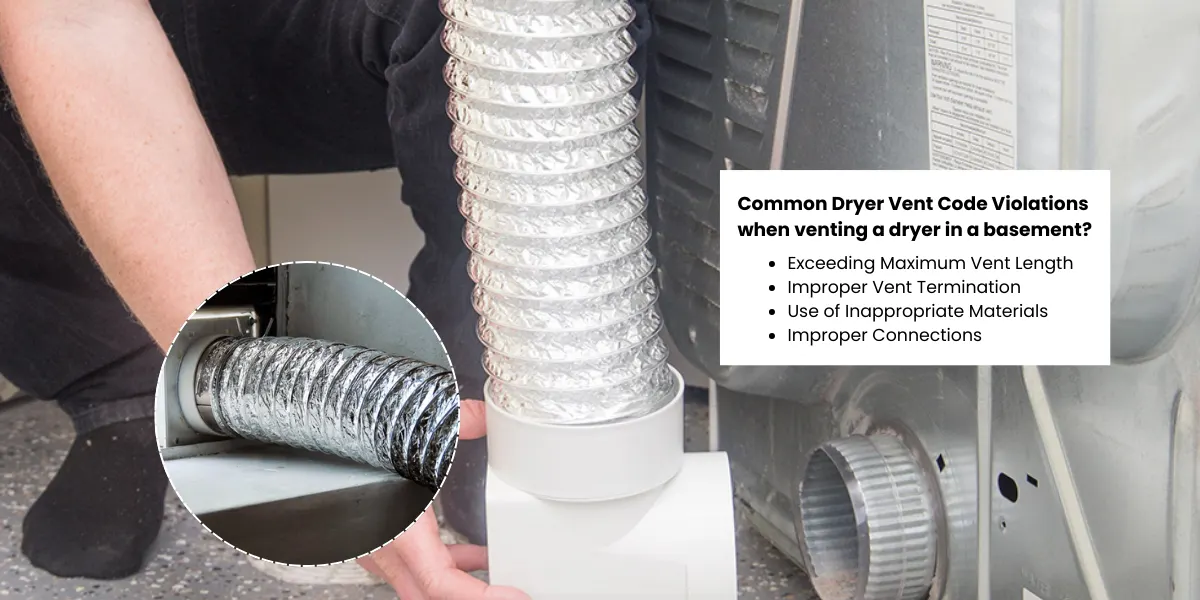 Venting A Basement From The Dryer
In a basement, you might exit through a rim joist, a foundation wall above grade, or an existing window with a vent kit. If you’re cutting concrete, rent a hammer drill and core bit, or call a pro. There’s no shame in outsourcing the dusty, loud stuff.
Check outside before you cut inside. You don’t want your vent hood opening onto a deck, a doorway, or your neighbor’s prize-winning tomatoes.
Make the Cut and Connect
Cut a hole slightly larger than your duct, then test-fit the vent hood from outside. Seal around the hood with exterior caulk so rain and bugs stay out. Inside, slope the duct gently downward toward the outside, so condensation can drain away.
Connect sections with foil tape, not screws that can catch lint. Support the duct every few feet so it doesn’t sag. Use a short, flexible metal transition piece between the dryer and the wall—just don’t crush it.
Keep the run as clean as a whistle. Every smooth joint helps your dryer breathe.
 The Venting Dryer Inside A Room
Finish Outside and Test
Install the outside hood with its damper flap, making sure it opens freely. Turn the dryer on and go outside. You should feel strong airflow and see the damper push open. If a tissue flutters in the breeze, you’re winning.
Back inside, check for leaks around joints and connections. If you feel damp air escaping, seal it up. Then run a full load and enjoy the fact that your basement isn’t fogging up like a mystery novel.
Keep It Breathing
Clean the lint trap every single load—yes, every time. Once a year, disconnect the duct and vacuum out lint that slipped past. Check the outside hood for nests, leaves, or stubborn fluff.
If airflow seems weak, look for kinks, crushed sections, or a clogged damper. A clear vent means faster drying, lower energy bills, and less fire risk. That’s a triple win.
You just turned a damp, dingy basement corner into a safer, happier laundry zone. That’s not just handy—it’s genuinely inspiring. So grab your flashlight, learn a little more, and keep making your home breathe easier.
